
Dessert Display Risers: How to Build a Dessert Station That Gets Photographed
Dessert stations are the most photographed part of any catered event. They are where guests linger, where phones come out, and where your presentation gets shared on social media. The right display risers turn a table of sweets into a visual centerpiece that drives client referrals. Here is how professional caterers build dessert displays that get noticed.
Last updated: June 2026. Now with answers to the top questions caterers ask about dessert display risers.
Why Dessert Stations Need Risers More Than Buffets
A buffet serves a functional purpose: feed guests efficiently. A dessert station serves a visual purpose: create a moment. Guests approach a dessert table with anticipation, not hunger. They want to browse, compare, and select. The display needs to reward that attention.
| Factor | Main Buffet | Dessert Station |
|---|---|---|
| Guest behavior | Line up, serve, sit down | Browse, photograph, select |
| Time spent looking | 30-60 seconds | 2-5 minutes |
| Photography | Occasionally | Almost always |
| Social media sharing | Rare | Frequent |
| Presentation impact on bookings | Moderate | High (planners share dessert photos with future clients) |
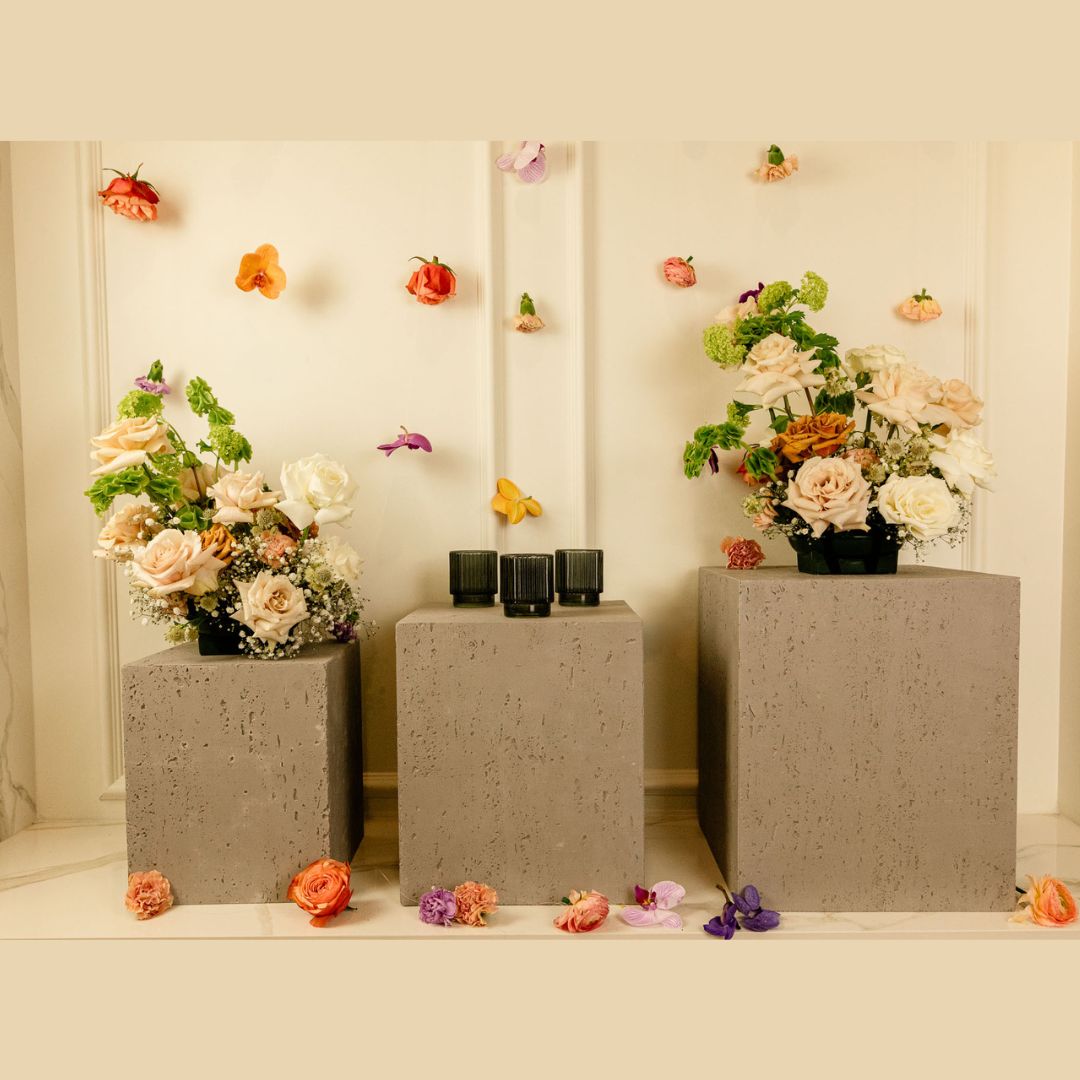
| Height variation needed | 3 zones sufficient | 4-5 heights for maximum visual interest |

The Dessert Display Formula
Professional dessert displays follow a consistent structure:
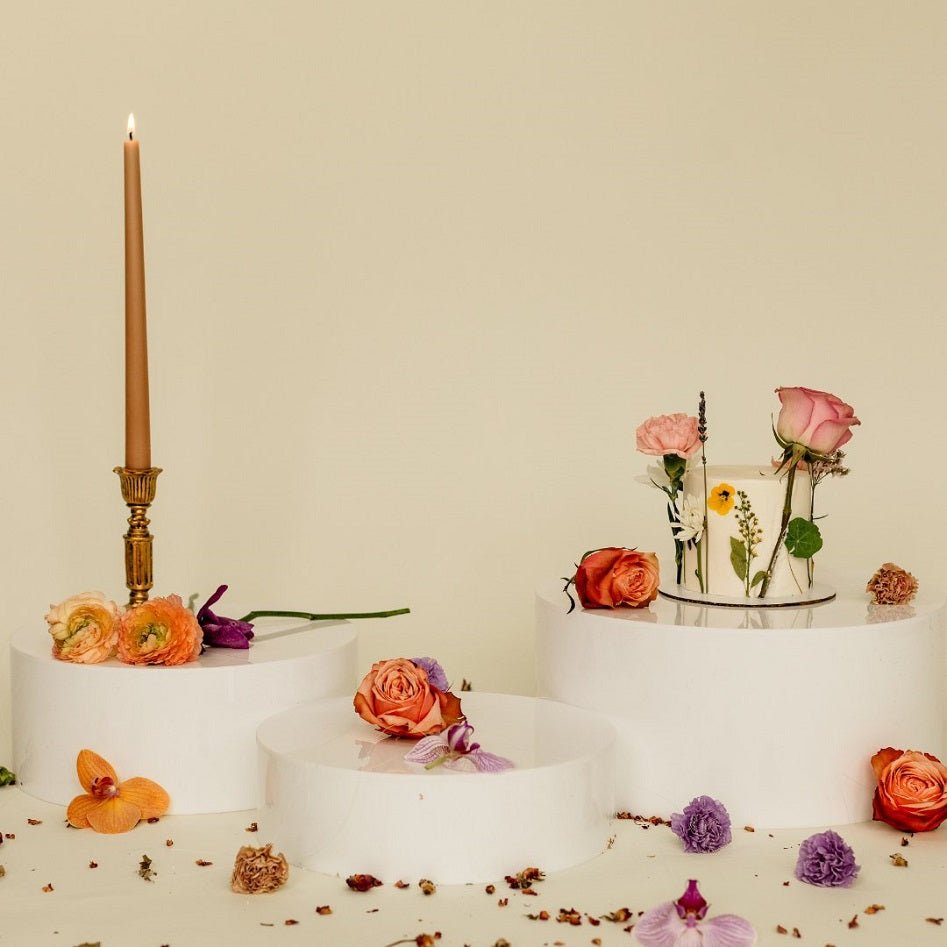
- Centerpiece at the tallest height. A statement piece (cake, croquembouche, chocolate fountain) on the tallest riser. This anchors the display and is visible from across the room.
- Secondary items at medium heights. Cupcakes, petit fours, macarons, tartlets on medium risers flanking the centerpiece. These create the visual middle layer.
- Grab-and-go items at table level. Cookies, brownies, truffles, and individually wrapped items at the front edge. Easy access, no riser needed.
- Negative space. Leave 4-6 inches between each riser. Crowded displays look cluttered. Space between items lets each dessert breathe and creates the editorial, curated look that photographs well.
Choosing Risers for Dessert Displays
| Dessert Type | Best Riser | Why |
|---|---|---|
| Statement cake | Single tall riser or large trio (tallest piece) | Maximum height, stable flat surface for cake board |
| Cupcakes (24-48) | 7-piece nesting set | Multiple heights create cascading cupcake display |
| Macarons / petit fours | Trio set | 3 heights, each holds a platter of small items |
| Donut wall alternative | Stacked cubes with platters on each | Vertical display without a dedicated donut wall fixture |
| Full dessert bar | 13-piece display system | Complete coverage for 8-12 foot dessert table |
Material and Color for Dessert Displays
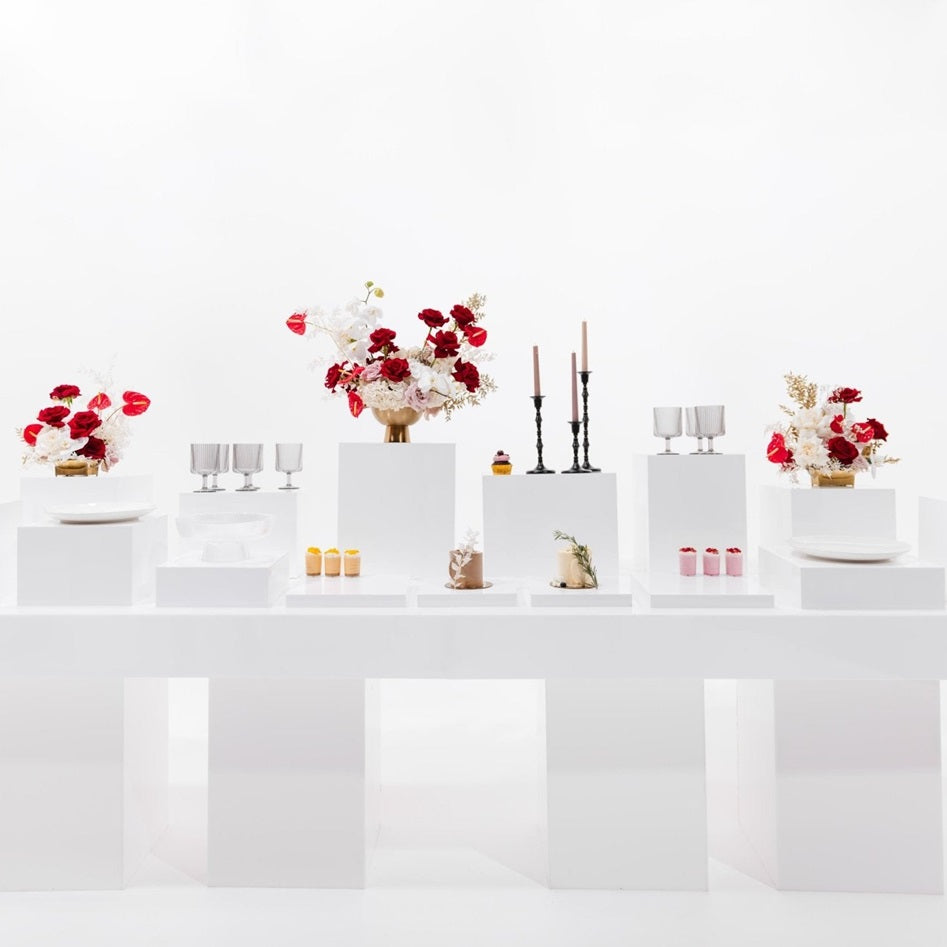
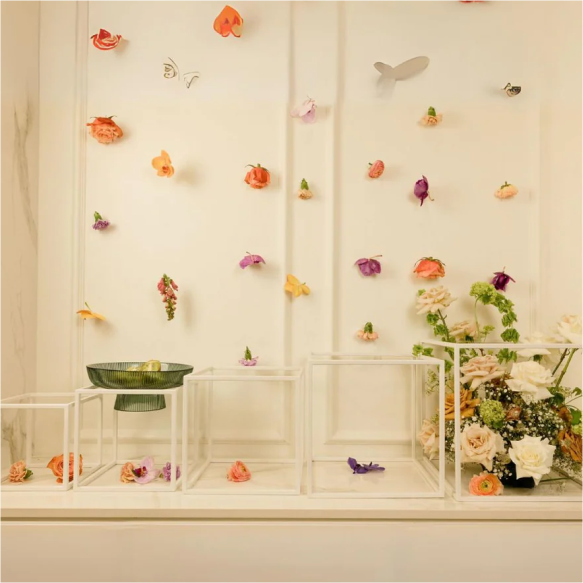
Clear acrylic is the default choice for dessert stations. It lets the colors of the desserts dominate the visual. Macarons, cupcake frosting, fruit tarts, and chocolate all pop against a transparent background that adds no competing color.
White acrylic creates a clean, bakery-case aesthetic. Works especially well for all-white dessert spreads (wedding cakes, vanilla cupcakes, white chocolate truffles) where the monochrome palette is part of the design.
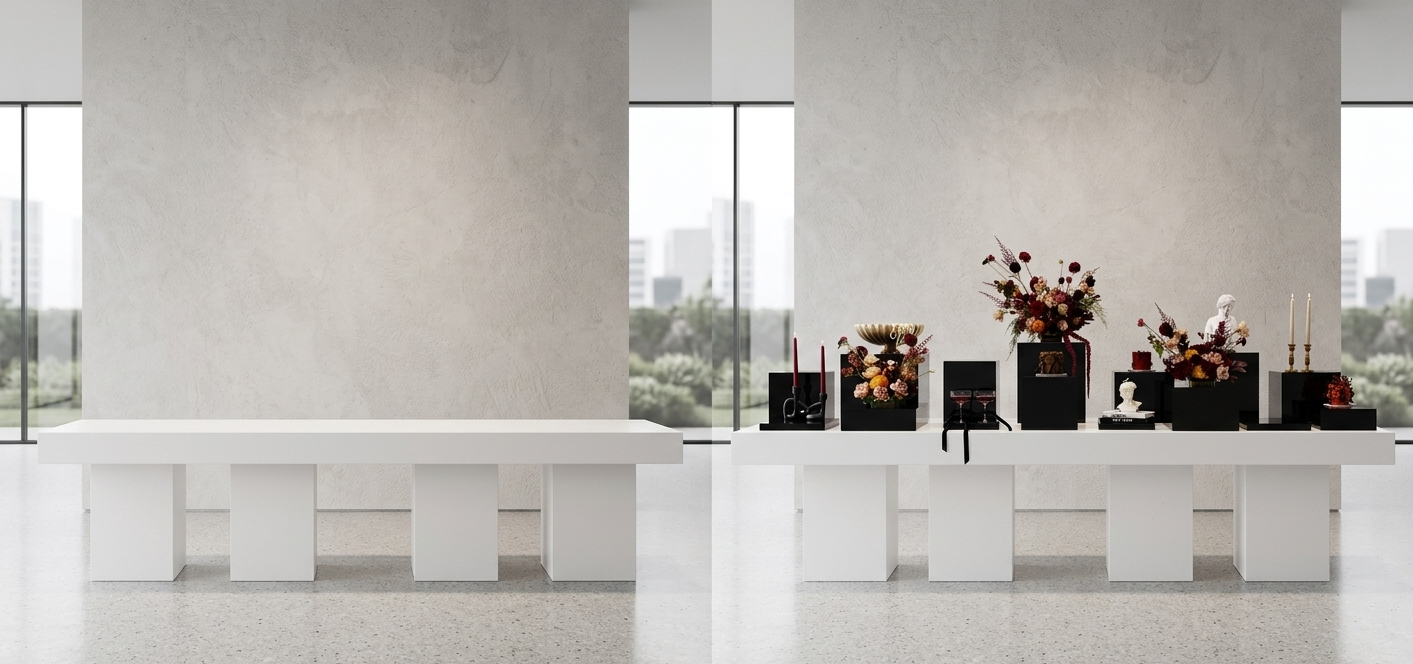
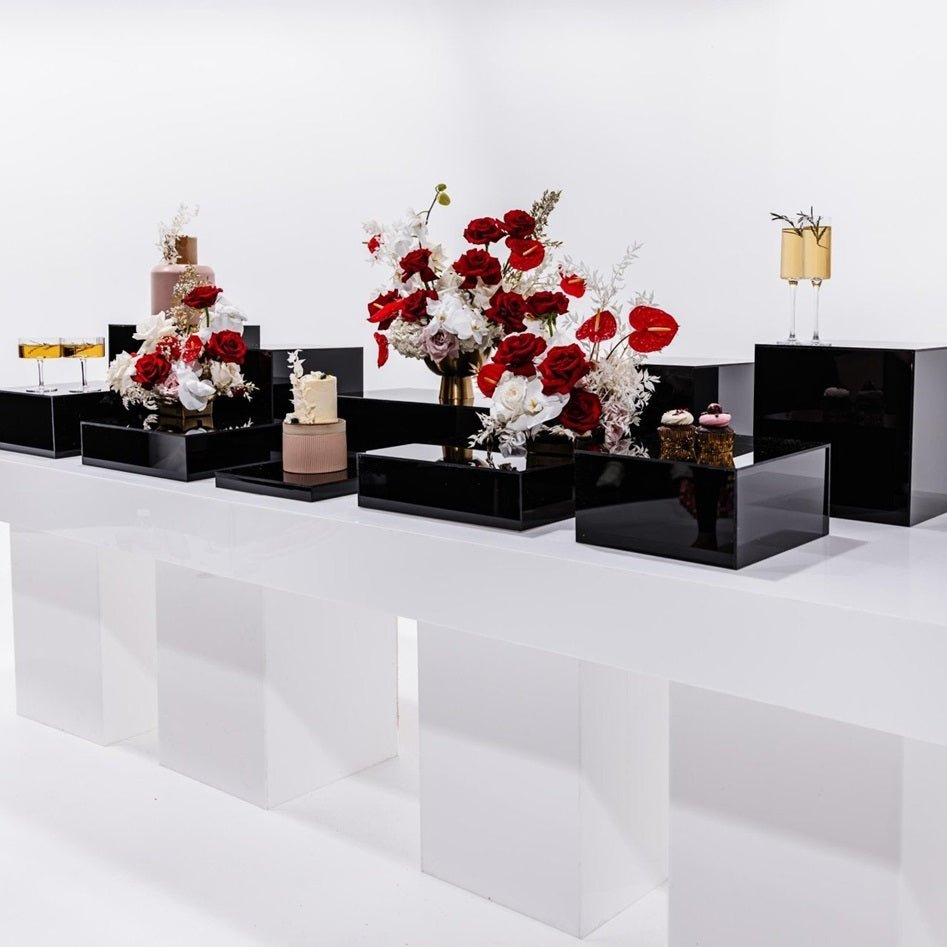
Black acrylic creates dramatic contrast for colorful desserts. Red velvet cupcakes, gold-dusted truffles, and bright fruit tarts look striking against a dark background. Best for evening events and formal galas. Browse black acrylic risers for dramatic dessert displays in the Dark Classics collection.
Pastel acrylic matches playful dessert themes: baby showers, birthday parties, spring brunches. The soft colors complement rather than compete with the desserts.

Setup Tips for Dessert Stations
Set up risers before desserts arrive. Arrange all risers, step back, photograph from guest perspective. Adjust spacing. Then add desserts. Moving risers with food on them risks damage to both.
Use odd numbers. 3, 5, or 7 height levels look more natural than 2, 4, or 6. The odd-number rule creates asymmetry that the eye finds more interesting than perfect symmetry.
Light from above or behind. Dessert displays look best with overhead lighting or backlighting. Front lighting creates harsh shadows under the risers. Clear acrylic catches and refracts overhead light beautifully.
Include signage. Small tent cards or acrylic sign holders identifying each dessert look polished and help guests with dietary restrictions find safe options.

Browse the full dessert display riser collection.
FAQ
What risers are best for dessert displays?
For most dessert stations, a 7-piece nesting cube set provides the height variation needed for a visually interesting display. For statement cake presentations, use a single tall riser from a trio set. For full dessert bars (8+ foot tables), a 13-piece display system covers the entire surface.
What color risers work best for desserts?
Clear acrylic is the most versatile because it lets dessert colors dominate. White works for bakery-case aesthetics and monochrome themes. Black creates dramatic contrast for colorful desserts. Pastel works for playful themes like baby showers and birthday parties.
How do I set up a cupcake tower for a catered event?
Use a 7-piece nesting cube set arranged in descending height front to back. Place 4-6 cupcakes per riser surface, leaving space between each one. A set of 7 risers at mixed heights handles 24-48 cupcakes and creates a cascading display that photographs as a single visual statement rather than a flat tray of cupcakes.
What size riser do I need for a wedding cake?
A single tall riser from a trio set works for most wedding cakes. The top tier of a trio set gives you the maximum height to anchor the display, and the flat surface accommodates a standard cake board. For a two-tier presentation (cake elevated, desserts flanking), use the tallest trio piece for the cake and the two shorter pieces for the secondary items.
How do I keep desserts stable on risers?
Use flat-surface risers (cube or box style) rather than pedestals. Place desserts on platters or cake boards that sit flat on the riser surface. The riser's flat top provides a stable, level surface. Acrylic does not slide on acrylic, so platters stay in place.
Can I use the same risers for buffets and dessert stations?
Yes. That is the advantage of modular riser systems. The same set of risers works for the main buffet during dinner and gets rearranged for the dessert station afterward. Wipe clean between uses.
How many risers do I need for a dessert table?
For a small dessert station (4-foot table), a trio set (3 pieces). For a standard dessert bar (6-8 foot table), a 7-piece nesting set. For a grand dessert display (10+ foot table), a 13-piece system or combo set.
Last updated: June 2026
Comparing brands? Read our 2026 Best Buffet Risers Buyer's Guide: honest side-by-side reviews of Plinths NY, Rosseto, Cal-Mil, Webstaurantstore, and Decormaniacs with a decision matrix.