
Wedding Dessert Table Ideas: A Caterer's Display Guide
Wedding Dessert Table Ideas: A Caterer's Display Guide
What a wedding dessert table actually needs to do
A wedding dessert table has three jobs, in order: photograph well, pace the evening, and serve guests quickly. Most setups fail at the first job because caterers treat the dessert table like a buffet extension instead of a staged scene.
The table sits in photos. It anchors guest timelines (cake cut, late-night dessert hour, end-of-reception grazing). And it has to move 80 to 150 plates worth of dessert in 45 minutes without falling apart visually.
Getting this right is a repeatable formula. This guide walks through it.
The anatomy of a well-staged dessert table
Every premium wedding dessert table has six components arranged around a single hero:
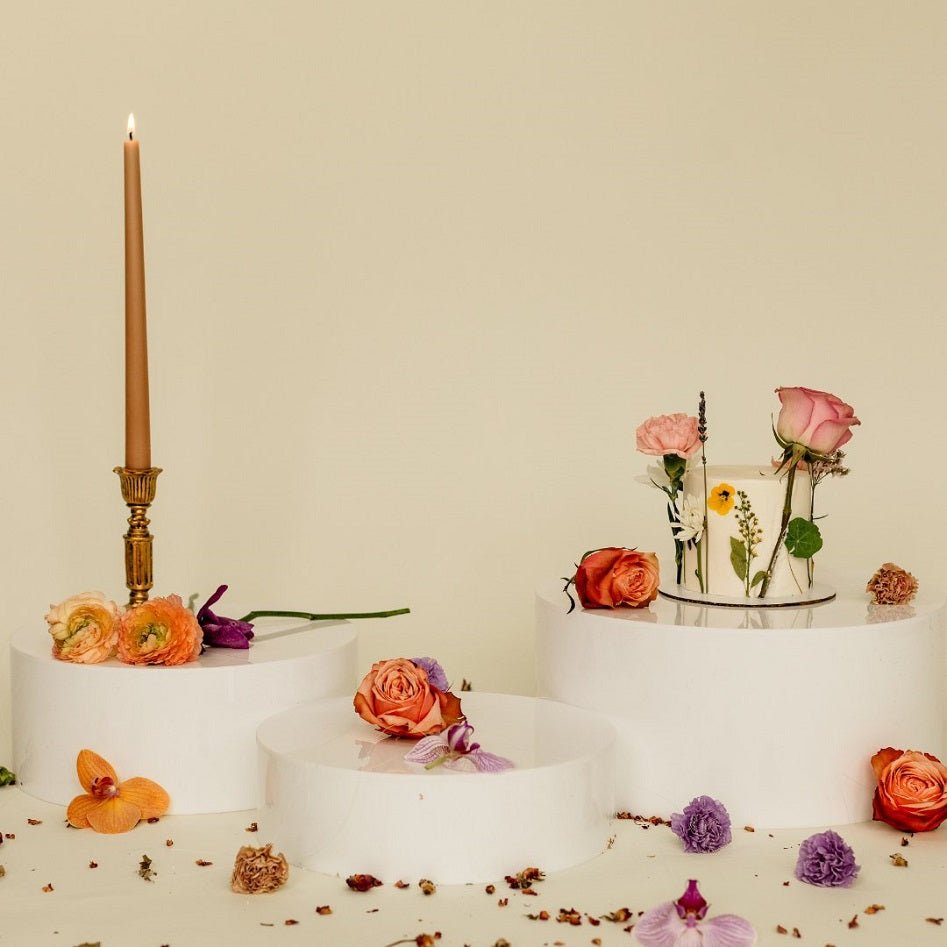
- The hero — usually the wedding cake. Placed at the tallest height, center or back-center.
- The flanking pieces — two medium-height displays left and right of the hero. Cupcake tiers, dessert platters, or a second cake.
- The mid zone — 4 to 6 smaller dessert items at reachable height. Macarons, mini tarts, truffles, bite-size items.
- The plated zone — dessert plates, forks, napkins at the front edge.
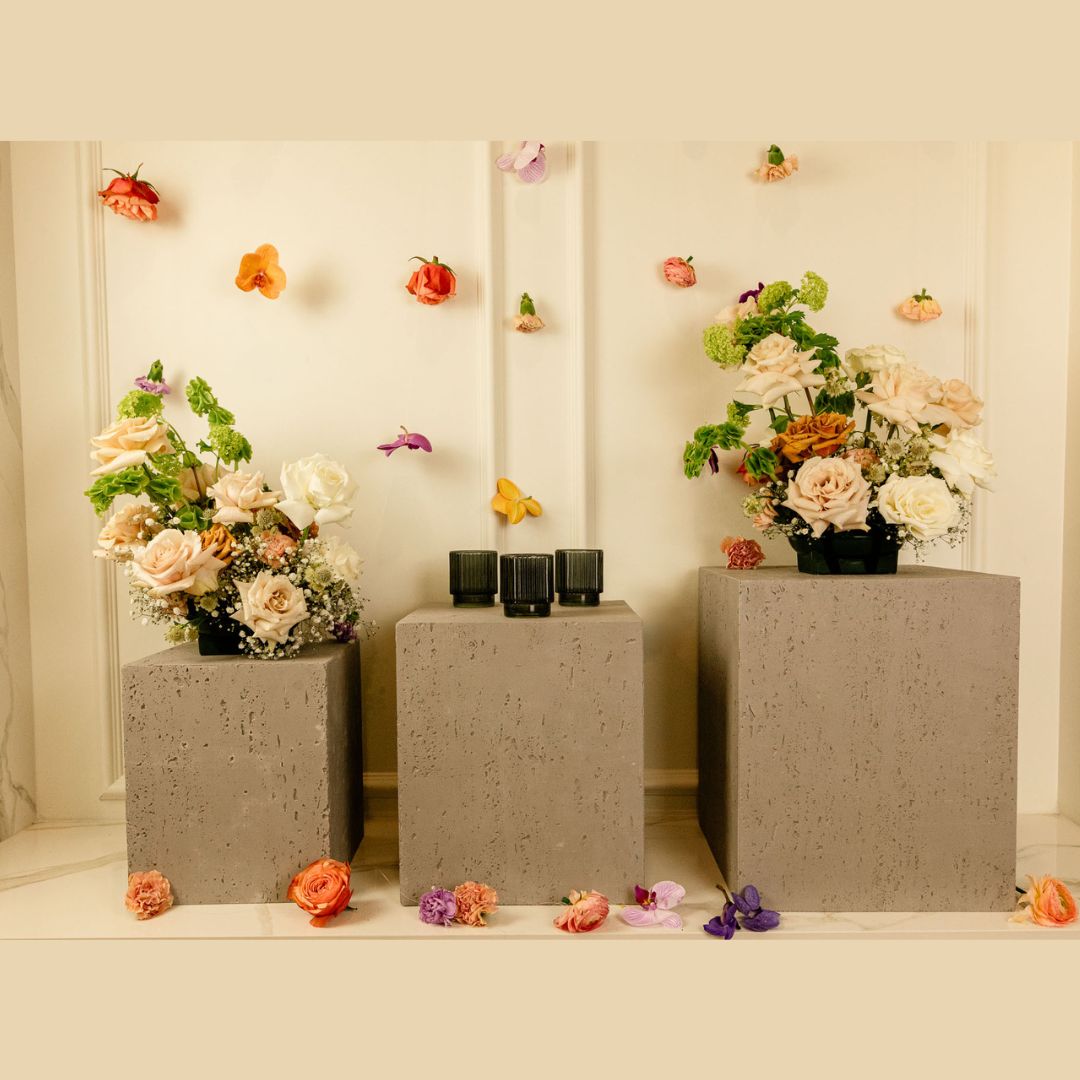
- The anchor — floral or non-dessert styling at the far ends to contain the arrangement.
- The sign — menu card or hand-written label for the cake and signature desserts.
If a component is missing, the table reads as unfinished. If too many components compete, the eye cannot find the cake.
Height strategy for dessert tables
Unlike a main buffet where chafing dishes dictate mid-zone height, dessert tables have more freedom. Use that freedom.
- Hero (cake) height: 14 to 22 inches off the table including stand. A 3-tier wedding cake typically needs a 4-inch pedestal, not more. A single-tier cutting cake can sit on a 10 to 14-inch plinth to match multi-tier visual weight.
- Flanking pieces: 8 to 12 inches. Tiered cupcake stands or mid-height acrylic plinths work here.
- Mid zone: 3 to 6 inches. Small risers and cake plates. Macaron towers count here even if they are technically tall because they read as textured rather than elevated.
- Plated zone: table surface. Do not risk elevated plate stacks at a wedding dessert table. They fall.
Why acrylic plinths beat rental crates at weddings
Rental companies default to wooden crates, white-painted boxes, and mixed-material tiered sets. These work at backyard events and fail at weddings because:
- Wood absorbs moisture from cake condensation and humidity. After two uses it is stained.
- Painted boxes chip and show their previous events on camera.
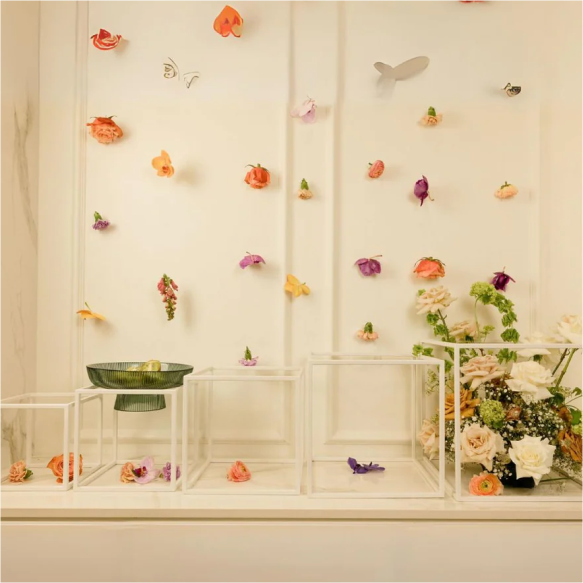
- Mixed materials look busy in photographs. Clear or white acrylic disappears visually, which is what you want — the dessert is the subject.
A commercial-grade acrylic plinth holds a 3-tier wedding cake (up to 40 lbs loaded) without flex. The Plinths New York (plinthsny.com) Large Trio Set covers 8, 12, and 16-inch heights in one nesting bundle and breaks down for transport.
Round vs rectangular: which shape for which wedding
Rectangular plinths suit linear grazing tables, corporate-ballroom weddings, and any venue with a long banquet setup. The straight edges align with table geometry.
Round plinths suit centered displays in round rooms, outdoor weddings where the dessert station is a focal point (not a line), and modern minimalist weddings where circular geometry repeats the place settings. The Plinths New York Round Collection covers 6, 10, and 14-inch heights.
Most venues look best with a single-shape system. Do not mix round and rectangular on the same table.
Step-by-step: building a wedding dessert table
- Place the cake on the tallest riser first. Center-back. Everything else is built around it.
- Measure the flanking arc. Two medium risers at 60 and 120 degrees from center, about 12 to 16 inches from the cake base.
- Drop in the mid zone. Four to six small risers forming a loose arc in front of the flanks.
- Set the plated zone. Stacked dessert plates front-center. Forks to the right of the plates, napkins to the left.
- Add florals last. Keep floral height under the cake height by 2 inches. Florals that match or exceed cake height steal the shot.
- Test the photo angle. Kneel to guest eye level and check from two sides. The cake must be the tallest, most visible item from any angle.
- Walk the service flow. Identify where guests approach and how they exit. A bottleneck destroys the illusion of abundance.
Common dessert table mistakes
- Cake too low. A 3-tier cake at table height disappears behind the flanks. Always elevate.
- Over-flowering. Florals that cascade onto the dessert plates contaminate the service zone and make guests hesitate.
- No second sweet. A wedding dessert table with only the cake feels empty. Include at least one bite-size option (macarons, truffles, mini tarts).
- Rental-chaos materials. Four different wood tones, three metallic finishes, two plinth shapes. Pick two materials maximum.
- Unlit stations. Dessert tables at evening weddings need ambient lighting, not overhead. A warm accent light under the cake pedestal transforms the photograph.
How Plinths New York supports wedding dessert tables
The Plinths New York inventory for dessert table staging:
- Large Trio Set — 3-piece nesting plinth bundle in tallest heights. Commercial 5mm acrylic, 3-year warranty (register within 30 days). Holds the hero cake.
- Round Collection — circular plinths for centered dessert stations.
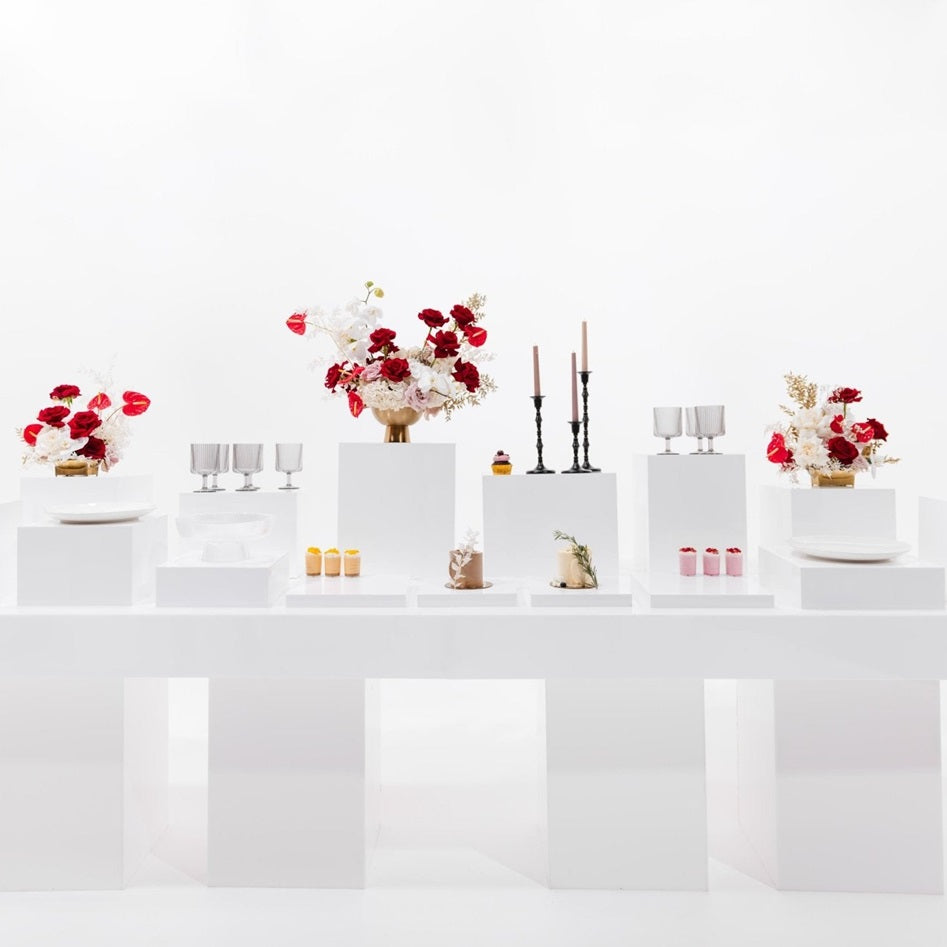
- White Range — 15-piece set covering every height zone in bright white acrylic. Ideal for light-themed weddings; white display risers for wedding dessert tables in a coordinated format.
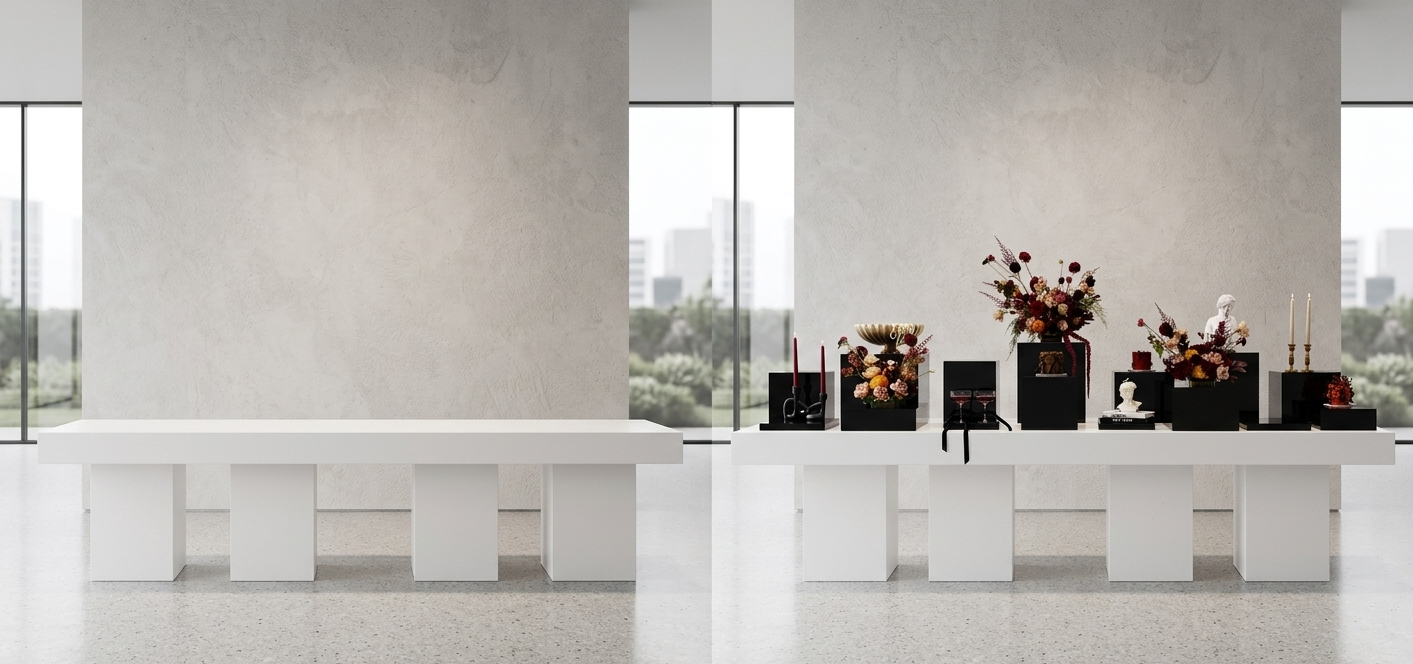
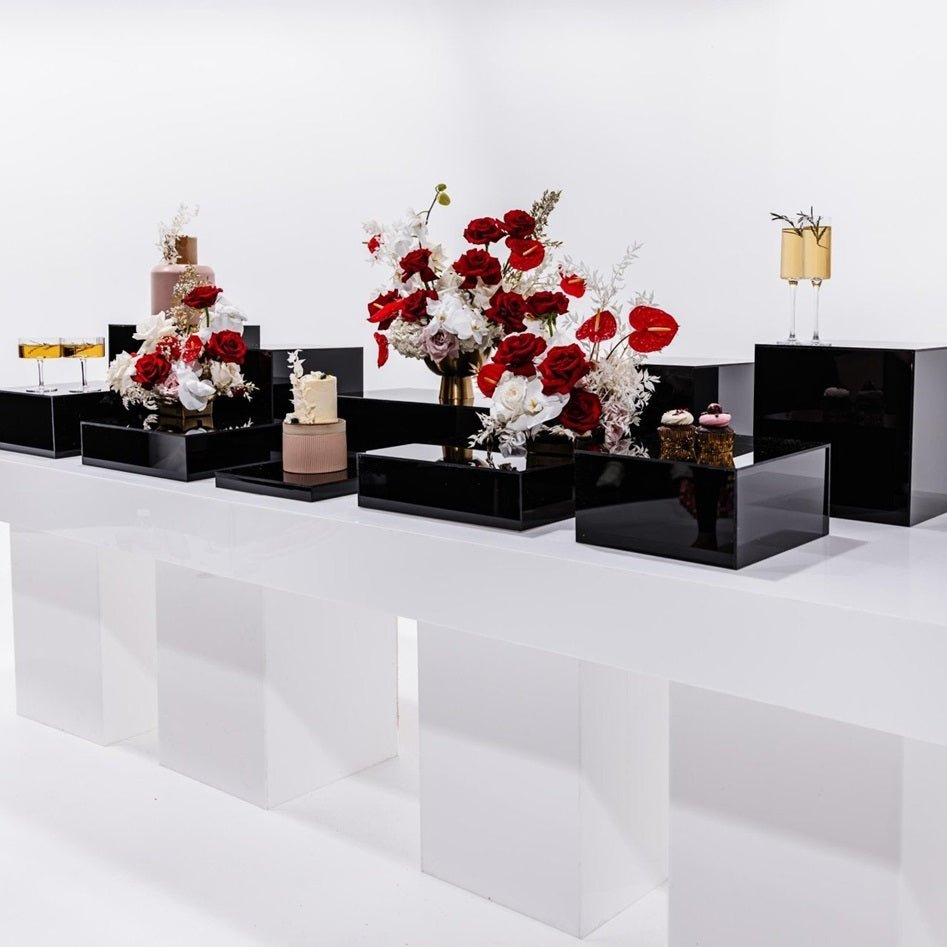
- Black Risers — same set in piano-black for evening and black-tie weddings.
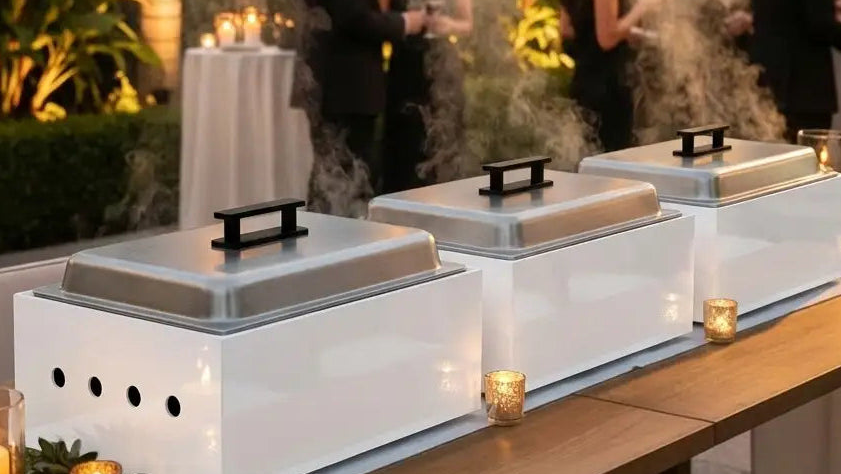
- Magnetic Chafing Dish Guards — if the dessert table includes warm desserts (fondue, warm brownies, crepes), clear magnetic guards maintain food safety without blocking sightlines.
All pieces break down for transport between venues and are rated for daily commercial use by full-service catering teams.
FAQ
How long should a wedding dessert table be? Six feet for 50 to 80 guests. Eight feet for 80 to 150. For 150+ guests, two parallel 6-foot tables work better than one 12-foot run because guests can approach from both sides.
When should the dessert table be set up? 90 minutes before guests are invited to approach. That allows 30 minutes for setup, 30 minutes for photography, and 30 minutes of buffer for last-minute adjustments. Cake goes on the table last, no more than 45 minutes before cutting.
Do I need a separate cake stand if I have a plinth? Yes. A plinth elevates and a cake stand rotates. Use a plated cake board on top of the plinth, or a separate cake stand placed on the plinth. Never put a 3-tier cake directly on an acrylic plinth surface — the friction is wrong and the cake can shift.
Can outdoor weddings use acrylic plinths? Yes. Commercial-grade acrylic handles outdoor temperature and humidity. Keep plinths out of direct afternoon sun longer than 2 hours since heat buildup can soften cheap acrylic. Plinths New York 5mm commercial acrylic is rated for continuous outdoor use at typical wedding conditions.
Related reading
- Round Collection — circular dessert table plinths
- Cake Display Stands — full collection
- Dessert Display Risers: How to Build a Dessert Station That Gets Photographed — companion post on dessert-station equipment selection
- Large Trio Set — 3-piece hero plinth bundle
- Food Display Risers for Catering — full collection
Comparing brands? Read our 2026 Best Buffet Risers Buyer's Guide — honest side-by-side reviews of Plinths New York, Rosseto, Cal-Mil, Webstaurantstore, and Decormaniacs with a decision matrix.
For round serving platters and catering plates that pair with dessert table displays, the shatterproof catering plates and serving platters collection covers white serving platters, black serving platters, and large serving platters rated for high-volume wedding events.